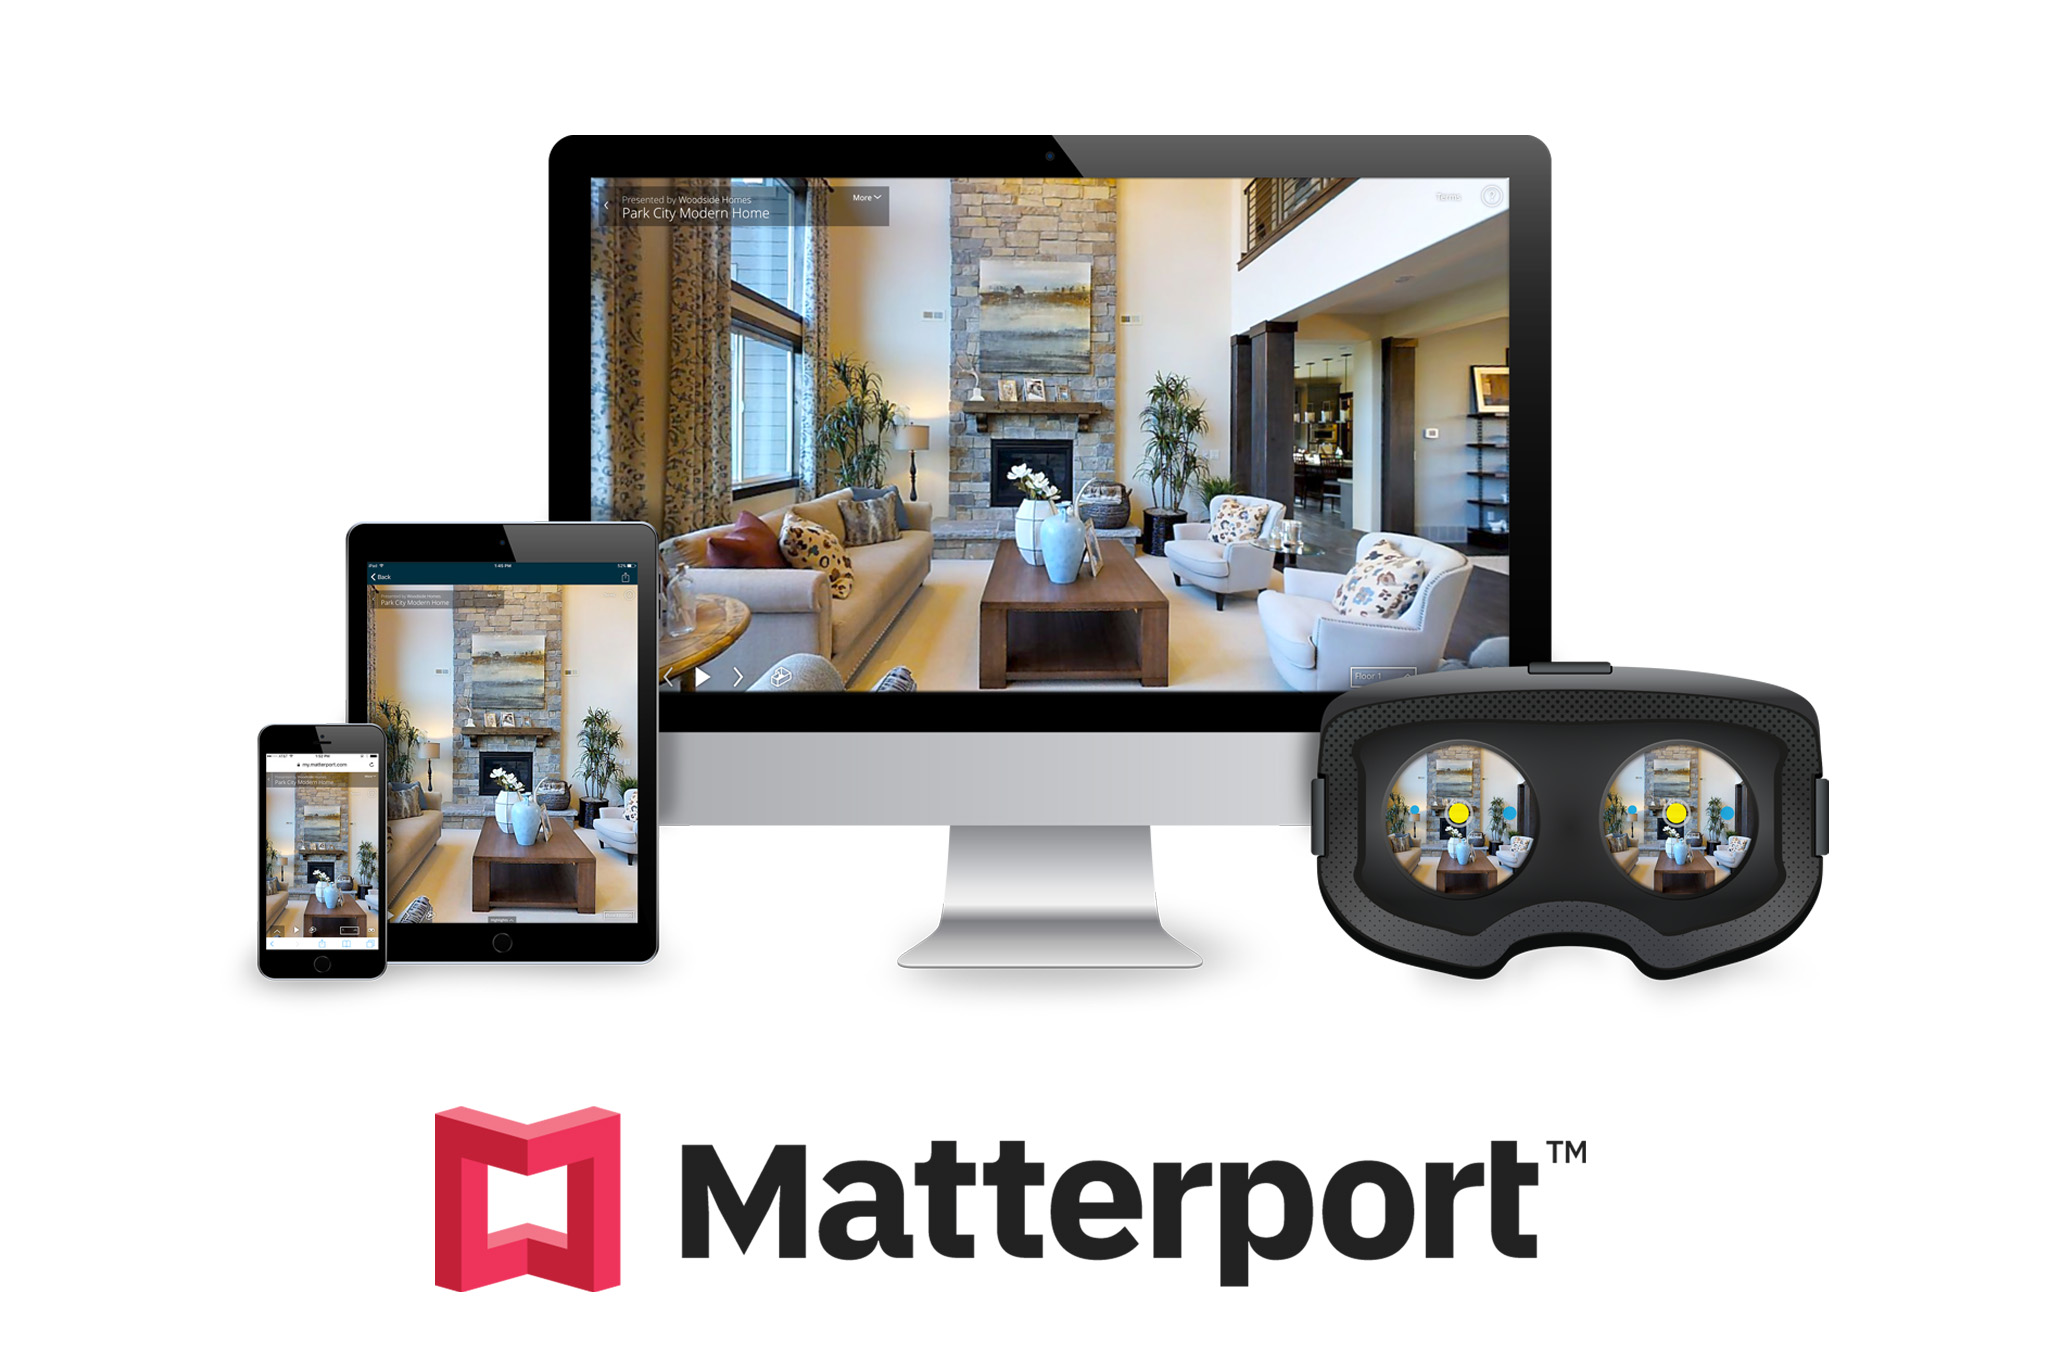
How to Create a Virtual Tour for Real Estate in 8 Steps
In today’s digital age, a captivating virtual tour can make all the difference when showcasing a property in the real estate market. Here’s a concise guide to help you craft an impressive virtual tour in just 8 steps:
- Plan and Prep: Begin by organizing your shoot. Clean and declutter the property, ensuring it’s in its best possible condition. Map out the areas you want to highlight in the virtual tour.
- Choose the Right Equipment: Invest in a good-quality camera and tripod. Ensure your camera settings are optimized for capturing high-resolution images and videos.
- Lighting Matters: Natural light can work wonders. Shoot during the day when there’s ample sunlight. If necessary, use additional lighting to brighten darker spaces.
- Capture Stills and Videos: Take high-quality photos of each room from multiple angles. Record short video clips for a dynamic feel. Show off unique features that set the property apart.
- Seamless Navigation: Use virtual tour software to create a user-friendly interface. Ensure smooth transitions between rooms and spaces, allowing viewers to explore intuitively.
- Add Engaging Content: Enhance your tour with informative hotspots, text descriptions, and even background music. Highlight key features, such as granite countertops or walk-in closets.
- Keep It Short and Sweet: Aim for a tour duration of 3-5 minutes. Conciseness keeps viewers engaged and interested throughout the experience.
- Test and Share: Before publishing, thoroughly review your virtual tour to catch any errors. Once satisfied, share the tour link on your website, social media, and real estate listings.
By following these 8 steps, you’ll create a virtual tour that effectively showcases the property’s unique charm and helps potential buyers envision themselves living there. In an increasingly digital world, a well-crafted virtual tour can be a game-changer in the competitive real estate market.


